⚡ Direct Quick Answer
Lay an intact corpse on Resurrection Table I, insert 1 Reanimation Liquid and 1 Zombie Collar into the station slots, and click the Prepare button to stage the body.[1][2][3]
- 1 Lay Corpse: Place an intact corpse onto Resurrection Table I in the underground Resurrection Lab.
- 2 Slot Reagents: Insert 1 Reanimation Liquid and 1 Zombie Collar (the starter Bronze Collar from the lab chest is sufficient).
- 3 Click Prepare: Select the Prepare button on the interface to complete table staging.
Required Staging Components
⚰️
Resurrection Table I • Staging Slots
Location: Resurrection Lab (Morgue)
📥 Required Station Slots
-
🧟 Intact Corpse (Clean or autopsied body)1 Body
-
1×
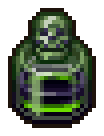 Reanimation Liquid (Required: 1 unit)
-
1×
 Bronze Zombie Collar (Starter in lab chest)
⚙️ Station Controls
-
✅ Station Action: PrepareCommits Staged Items
-
⚡ Downstream Power ActivationEnvy-Day Cycle
Resurrection Table Interface & Staging
The screenshot below illustrates the active Resurrection Table I station interface:
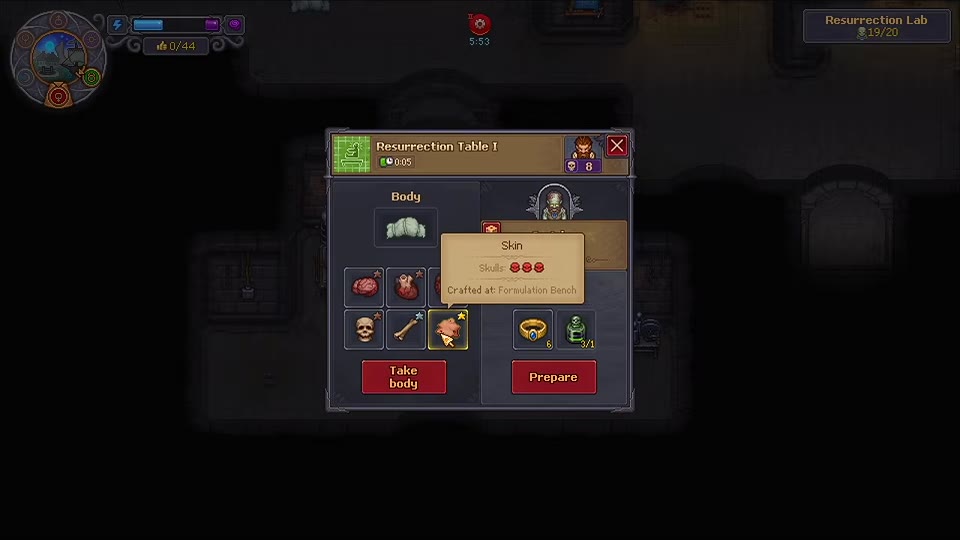
① Corpse on Slab
② Collar Slot
③ Liquid Slot
④ Prepare Action
Step-by-Step Table Setup
1. Enter the Resurrection Lab
- Go through your Morgue basement into the dedicated Resurrection Lab chamber.[1]
- Interact with the central stone slab, Resurrection Table I.[1]
- The interface shows the station title, corpse component indicators, reagent slots, and the Prepare action button.[1]
2. Place an Intact Corpse on the Table
- Carry a fresh or autopsied corpse and place it onto the table.[1]
- The UI checks anatomical parts (Brain, Heart, Skull, Bone, Skin).[5] Red skulls are ideal for zombie physical work efficiency, while white skulls enhance graveyard rating.[5]
3. Supply Reanimation Liquid and Collar
- Place 1 Reanimation Liquid into the liquid reagent slot.[2] Note: if the UI reads
3/1, you carry 3 units and the slot consumes 1. - Insert a Zombie Collar into the collar slot:[4]
- Starter Path (Bronze Collar): Obtain the free starter Bronze Zombie Collar and starter liquid directly from the supply chest inside the Resurrection Lab upon unlocking the chamber.[4]
- Advanced Alternative (Golden Collar): High-tier Golden Zombie Collars can be crafted later at the Jewelry Table; they are not required for your first zombie reanimation.
4. Click the Prepare Button
- Verify that the corpse, liquid, and collar icons are firmly seated in their respective slots.[1]
- Click the Prepare button on the station interface.[3]
- This commits the table staging phase and readies the body for electrical activation.
Subsequent Step: The Envy-Day Machine Cycle
Clicking Prepare completes table staging, but reanimating the zombie requires electrical power:
- Community walkthroughs document that final reanimation is powered on the Envy-symbol day (indicated by the green planetary crest on your top-screen calendar).[3]
- On Envy day, interact with the electrical console in the lab to complete the resurrection sequence.
Optional Branch: Golden Zombie Collar
For higher-tier automated workers, a Golden Zombie Collar can be crafted at the Jewelry Table (requiring Jewelry Mastery 8):
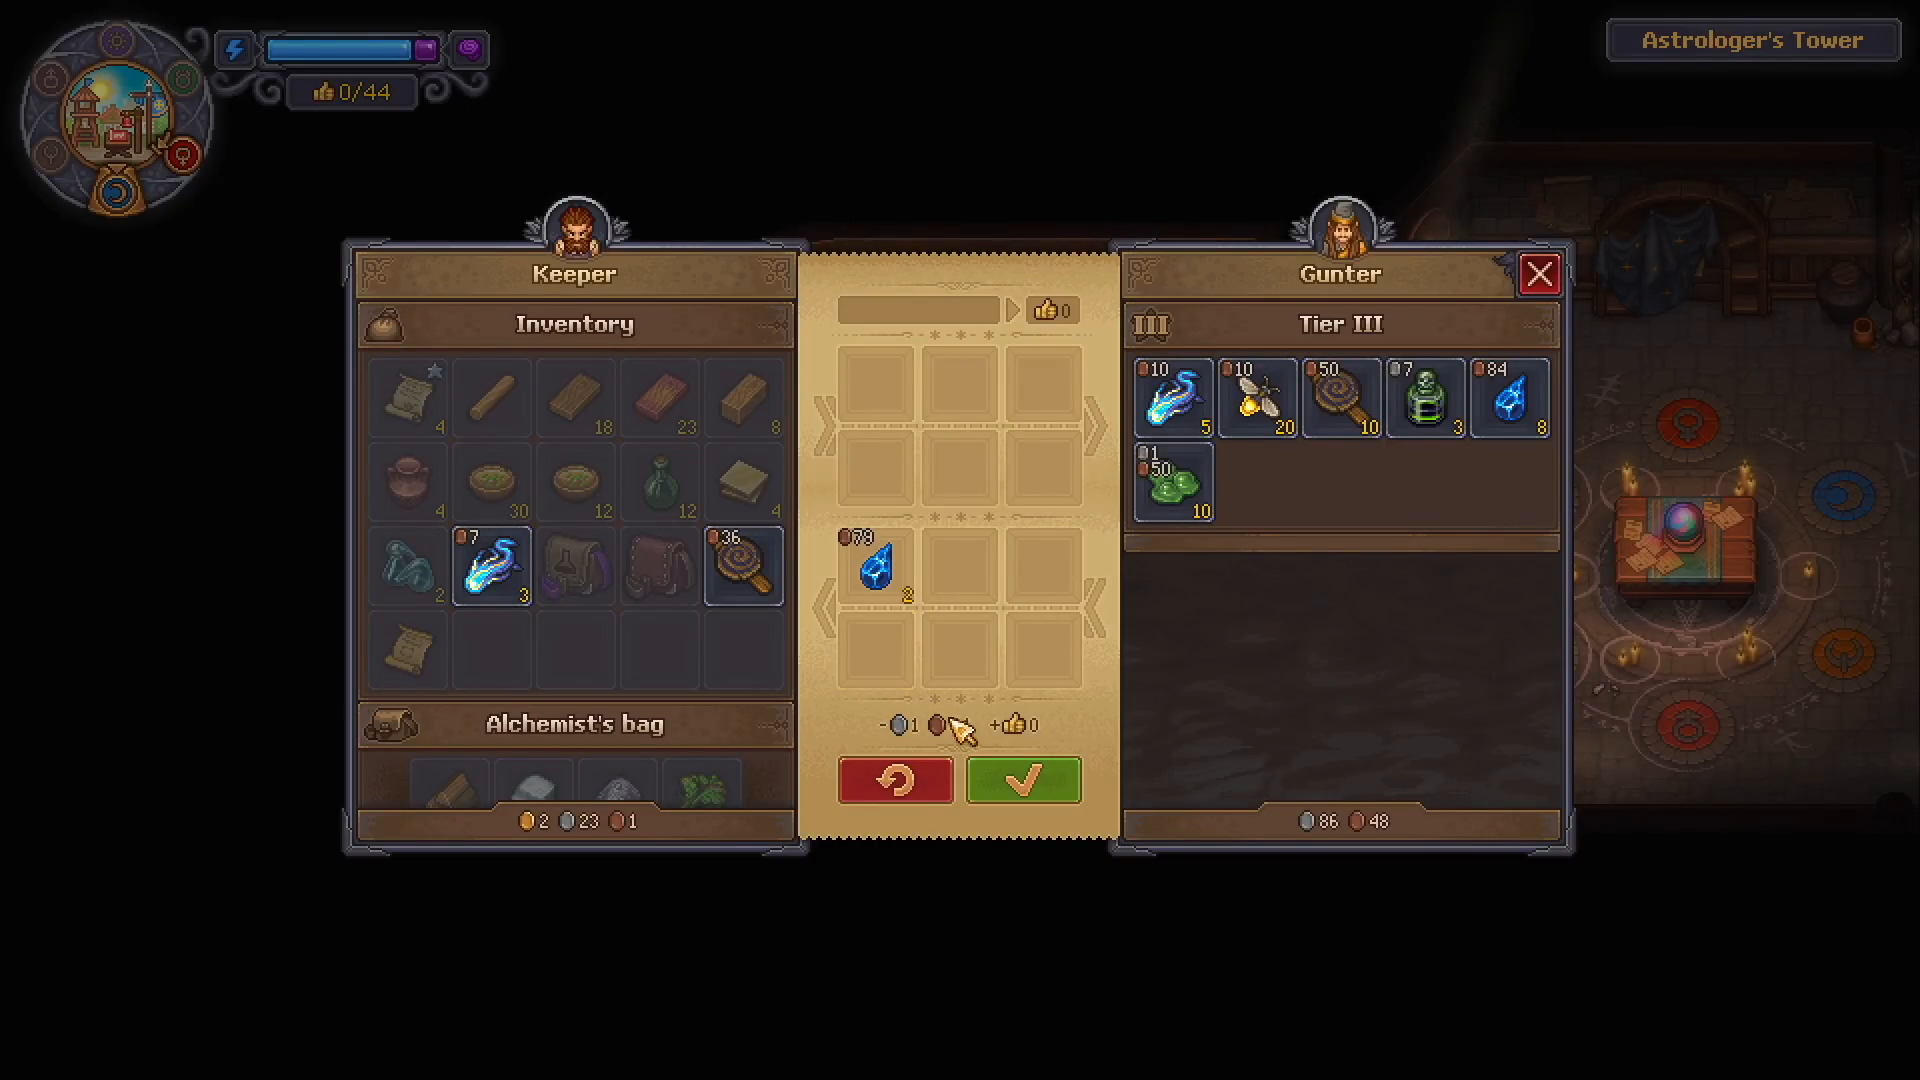
- This recipe requires Blue Crystal purchased from Gunter. See Buy Blue Crystals from Gunter for full trading steps.
Troubleshooting & Common Roadblocks
🔍 Preparation Checklist & Error Prevention
- Prepare Button Unclickable: Ensure all three requirements are met: a corpse on the slab, 1 Reanimation Liquid slotted, and 1 Zombie Collar slotted.
-
Misreading Slot Counters: A reading of
3/1does not mean you need three liquids; it means your inventory holds 3, and exactly 1 is needed. - Cannot Find Reagents: Check the storage container inside the Resurrection Lab room. Introductory reanimation materials are placed there upon initial entry.
Connected Progression
- Need Blue Crystals for advanced Golden Zombie Collars? See Buy Blue Crystals from Gunter.
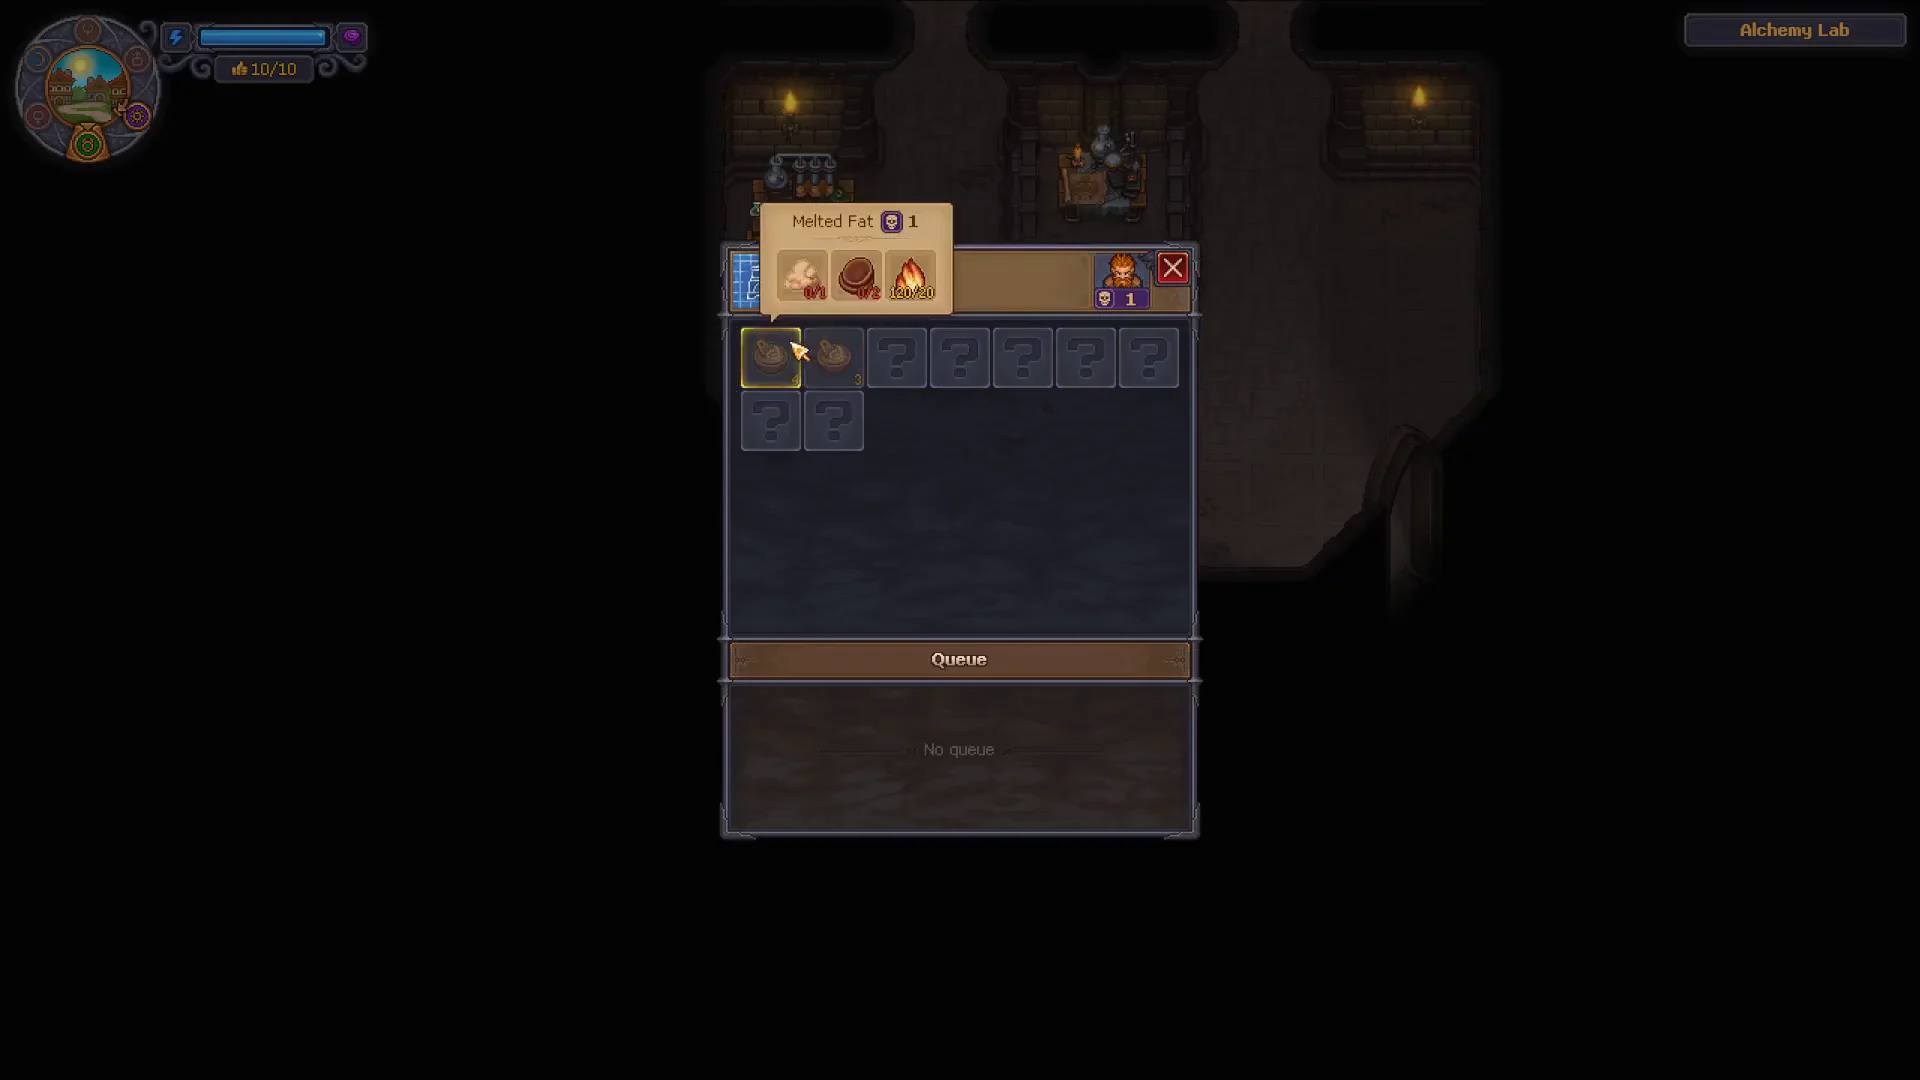
- Need alchemical supplies from the lab? See How to Distill Alcohol at Distillation Cube.
Verified Sources & In-Game References
- Resurrection Table I in Resurrection Lab verified from in-game station UI and GameRant Zombie Reanimation Guide. ↩ 1, 2, 3, 4, 5, 6
- Reanimation Liquid table input slot (displaying 3/1 ratio) verified from in-game station UI and Fextralife Reanimation Liquid. ↩ 1, 2
- Station "Prepare" action button verified from in-game UI. Envy-day device power cycle reported by GameRant. ↩ 1, 2, 3
- Zombie Collar slot verified on station UI. Golden Zombie Collar craft requiring Blue Crystal at Jewelry Table (Mastery 8) verified from jewelry crafting interface. Starter Bronze collar in Lab chest reported by GameRant. ↩ 1, 2, 3
- Organ inspection slots confirmed on station UI; worker skull distribution preferences documented across community guides. ↩ 1, 2